
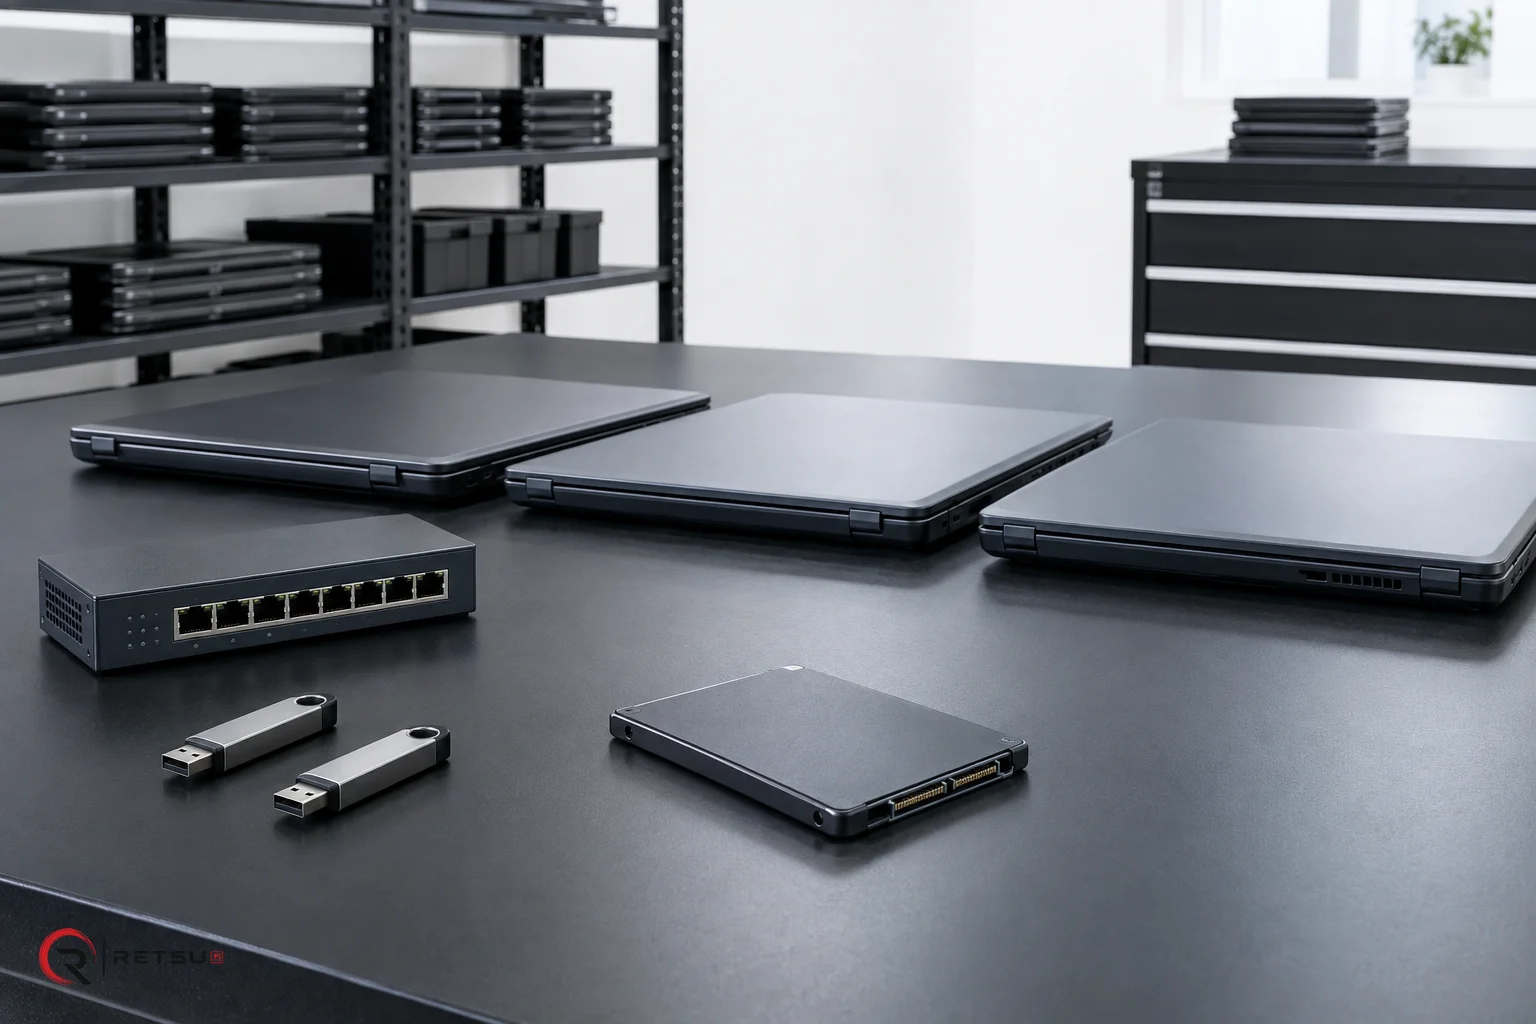
Streamlining ITAD Workflows with USB and PXE Booting
Modern IT asset disposition (ITAD) and refurbishment teams benefit from efficient and repeatable processes, especially at the busy device preparation bench. Retsu Erasure offers two flexible approaches to starting device workflows: USB and PXE booting. Both methods allow technicians to launch a dedicated Linux environment, skipping the need for a Windows installation. This flexibility is useful when processing a mix of devices or scaling up production lines. Understanding when to use USB and PXE can help teams design a workflow that fits their practical needs while ensuring evidence reporting, thorough erasure, and consistent device profiling.
The USB Approach: Portability and Simplicity
For smaller refurbishment benches and ad-hoc device handling, USB booting remains a simple and reliable choice. With Retsu Erasure, technicians can prepare a USB drive that contains the required tools and workflows. This drive is then inserted into each device to be processed before powering on and selecting the appropriate boot option. Once loaded, Retsu Erasure begins by profiling the hardware, guiding the technician through pre-configured testing, data erasure, and if selected, Windows imaging and other post-processing steps.
- Easy to prepare a handful of USBs for use across multiple benches.
- Ideal for mobile teams or isolated stations with unpredictable device flow.
- No network configuration required: just insert and boot.
USB drives are particularly useful for environments where network booting is not feasible or where technicians are working with diverse hardware that may enter the workflow sporadically. If a device cannot be added to a production line or regularly cycles through, USB provides a direct, no-fuss solution for consistent erasure and reporting.
PXE Booting: Efficiency for Production Lines
When volumes increase or devices are tested in batches, PXE network booting can enhance speed and reduce hands-on preparation. PXE enables eligible devices to boot directly from a network server, loading the Retsu Erasure environment without creating individual USB drives for each device. This is especially effective on production benches where technicians process dozens or even hundreds of similar units in sequence.
- No need to prepare USB drives for each device.
- Centralises management of boot media and workflow updates.
- Supports rapid turnaround on busy production lines.
Setting up PXE simply requires compatible devices and a configured network environment. Technicians power up each device and select the network boot option, after which the full Retsu Erasure experience becomes available. From here, profiling, testing, secure data erasure, and evidence uploading all follow a guided sequence, ensuring each asset meets repeatable standards before it reaches the next step.
Selecting the Best Approach for Your Workflow
The choice between USB and PXE in Retsu Erasure depends on your specific operation. Many ITAD workshops blend both approaches, allocating USB drives for unique or one-off devices, and PXE booting for larger, consistent batches. Some key questions that can help determine which boot method makes sense include:
- Are devices arriving in bulk, or scattered across small teams?
- Is the bench environment stable and connected to a managed network?
- Will the workflow benefit from centralised image and configuration updates, or mainly remain portable?
- Do security requirements rule out certain types of removable media?
For workshops that need flexibility, USB offers fast readiness and minimal setup. If efficiency and central management are the priority, PXE is the logical progression—especially as device numbers grow. Some sites start with USB as they scale up, later introducing PXE as the process matures and throughput increases.
Configurable Workflows: Building Repeatable Success
No matter the chosen boot method, Retsu Erasure supports configurable workflow sequencing. Technicians can set up processes that guide devices through profiling, hardware testing, secure erasure, OS imaging, and final shutdown or report upload. By ensuring each device follows the same sequence and submits evidence to Retsu Portal, teams maintain accurate records and support repeatable quality standards.
- Configurable steps support variable device handling strategies.
- Evidence reporting connects erasure and testing results to asset records.
- Workflows accommodate differences between USB and PXE operations.
This flexibility helps teams optimise the process for each batch, device category, or customer requirement—while minimising duplicate entry. Using Retsu Erasure in this way ensures a streamlined path from initial testing to final reporting, regardless of the starting point.
Ensuring Traceability and Security
One strength of integrating USB and PXE with Retsu Erasure is that all results, including reports from profiling and erasure, are passed directly to Retsu Portal. This creates a secure chain of evidence for every device processed, supporting traceability throughout the refurbishment life cycle. It means technicians and managers can focus on production quality, knowing device histories and actions remain centrally recorded—even when using a mix of boot media.
Explore Retsu Erasure Boot Options
Both USB and PXE booting are ready for integration within most ITAD and refurbishment environments. Whether teams need agility for one-off devices or efficiency in batch processing, Retsu Erasure delivers the flexibility required. Learn more about how these boot approaches and configurable workflows can enhance your own refurbishment benches at the Retsu Erasure page. Discover practical setup guides, explore step-by-step workflows, and find out how a connected approach supports asset tracking. We invite you to explore the possibilities with Retsu Erasure today.